第19章:Dead Letter(失敗を隔離して人が直せるように)📮😢➡️🙂
19.1 Dead Letterってなに?(ざっくり一言)🧠✨
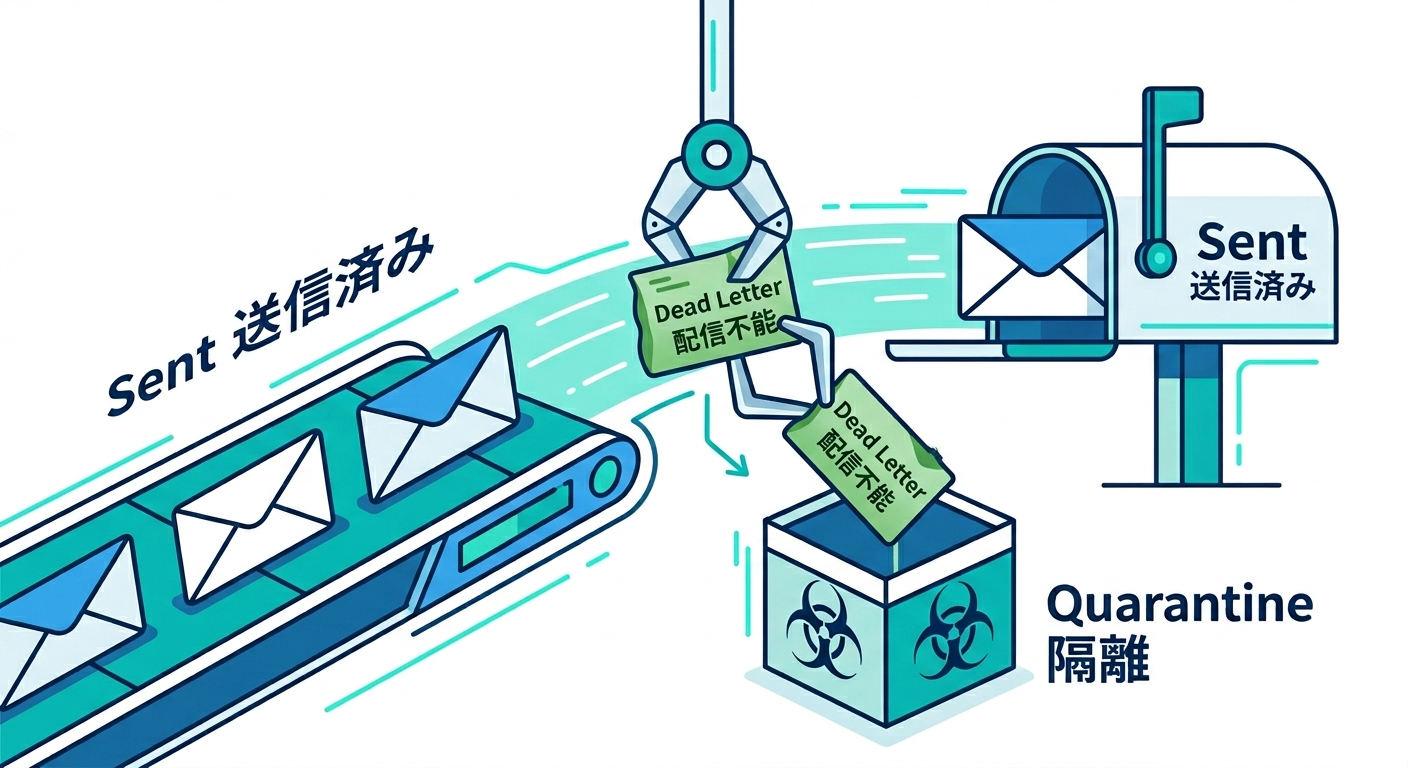
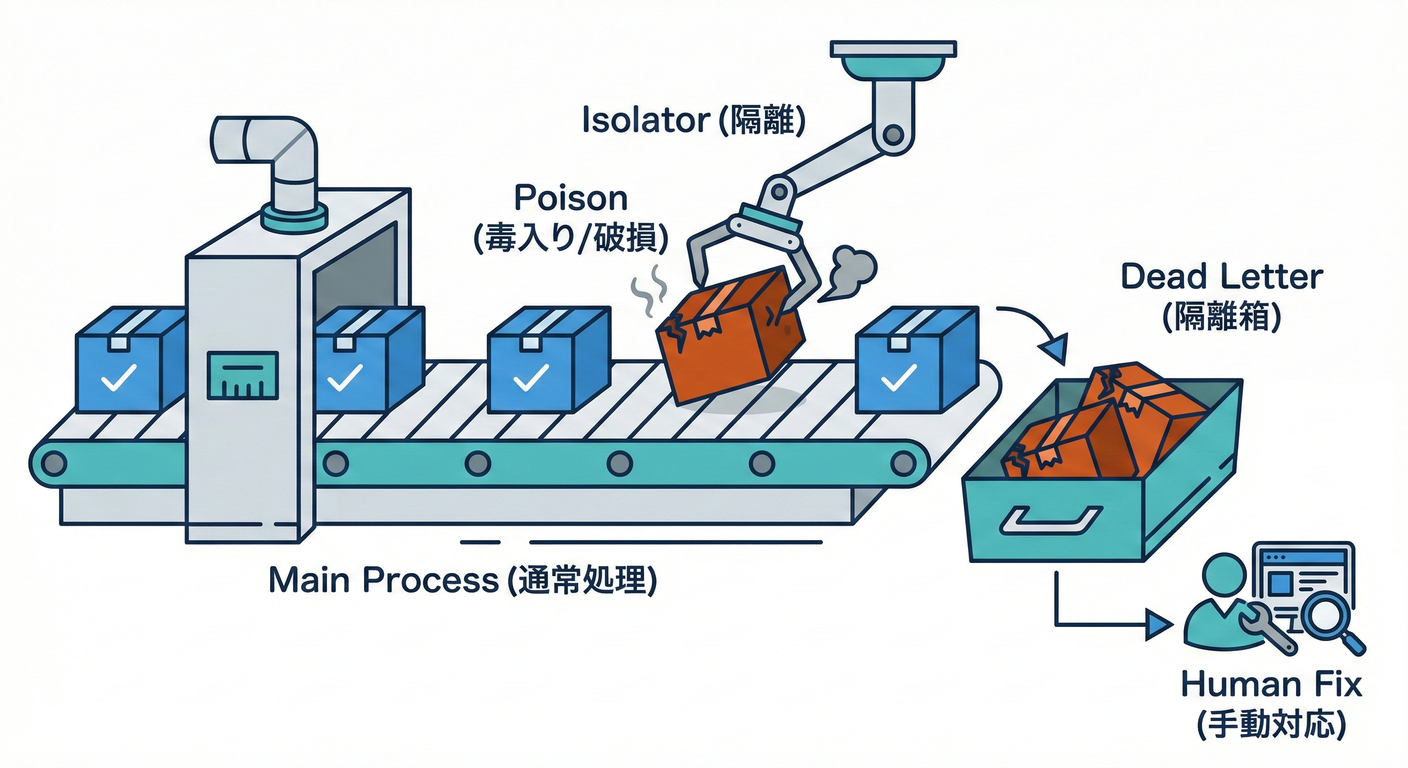
何回リトライしてもダメな“問題児メッセージ”を、いったん別の場所に隔離する仕組みだよ📮🗃️ こうすると、通常の処理ラインが止まらずに流れ続けて、あとで人が落ち着いて直せる🙂🫶
19.2 なぜ必要?(Dead Letterがない世界の地獄)🔥😵💫
Dead Letterがないと、こんな事故が起きがち👇
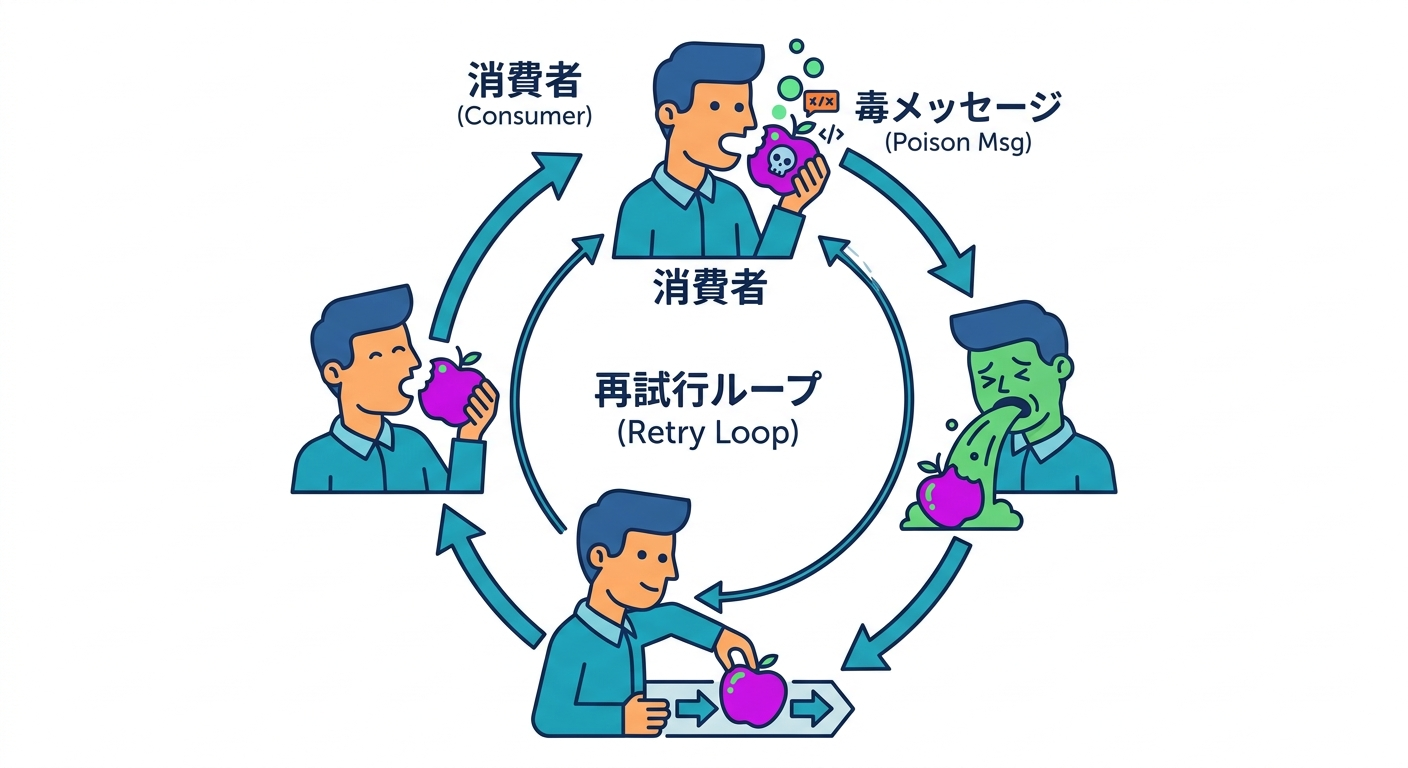
- **毒入りメッセージ(Poison Message)**が1件混ざる → ワーカーが毎回そこで失敗 → 同じ失敗を無限に繰り返して詰まる🧱🔁
- 「失敗ログは出てるけど、どのデータが原因?」 → 再現できない/直し方が分からない🥹
- 直すための材料(入力・回数・例外・時刻)が残ってない → 運用が祈りゲー🙏💥
Dead Letterは、こういう“運用の泣きポイント”を減らすための安全装置だよ🛡️
19.3 “どの時点で隔離するか”の基本ルール🧭🚦
 ポイントはこれ👇
「一時的にダメ」なのか「構造的にダメ」なのかを分ける🧠✨
ポイントはこれ👇
「一時的にダメ」なのか「構造的にダメ」なのかを分ける🧠✨
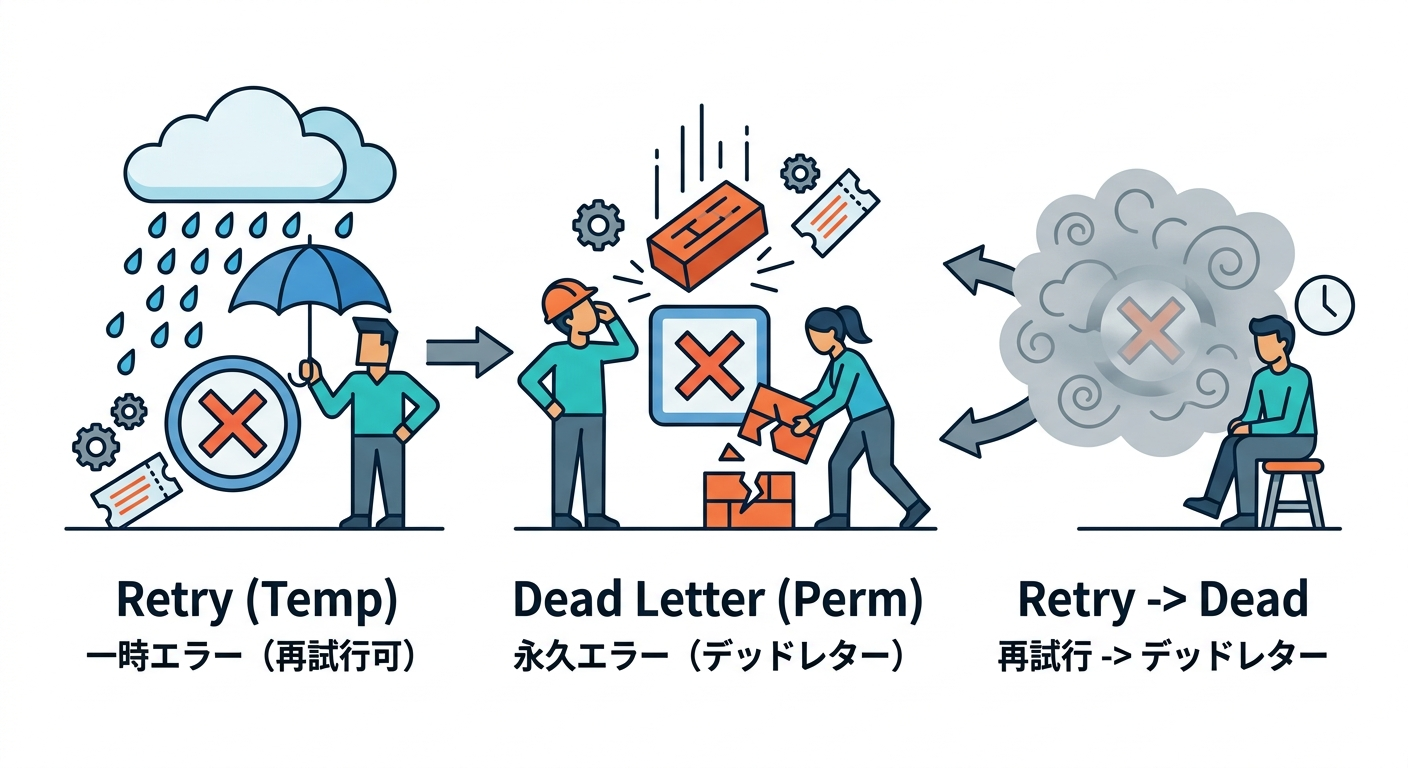
A) だいたいリトライで直る(=一時的エラー)🌧️🔁
- ネットワーク一時不調
- 相手が一時的に落ちてる(5xx系)
- タイムアウト
- 一時的なロック競合
👉 これは第15〜16章のリトライ+バックオフで粘る価値あり⏳📈
B) リトライしても直りにくい(=恒久エラー)🧱📛
- payloadの必須項目が欠けてる
- 型やフォーマットが壊れてる
- 送信先が「その値は受け付けない」(4xx系で内容が原因)
- ビジネス的に禁止状態(例:キャンセル済み注文の“発送完了”通知)🚫
👉 これは隔離して、人が直すのが早い🙂🧰
C) グレー(最初はリトライ、回数で見切る)🤔🔁➡️📮
- 原因不明例外
- ライブラリ不具合っぽい
- 環境依存でたまにだけ落ちる
👉 「最大リトライ回数」や「時間制限」を超えたらDead Letterへ📮
19.4 “実世界のDLQ”ってどんな感じ?(イメージを掴もう)🗺️✨
Dead Letterはサービスごとに呼び方や形が違うけど、目的は同じだよ🙂
-
Amazon SQS:
maxReceiveCountを超えると、メッセージがDLQに移動する(redrive policy)📦➡️📮 (AWS ドキュメント) -
Google Cloud Pub/Sub:最大配信試行回数に達すると dead-letter topic に転送できる📨➡️🗃️ (Google Cloud Documentation)
- しかも「最大試行回数のカウントや転送」は ベストエフォートでズレることがある、って明記されてるよ⚠️ (Google Cloud)
-
Azure Service Bus:配信できない/処理できないメッセージをDLQに保持し、取り出して検査・修正・再投入できる📮🧾🔧 (Microsoft Learn)
-
RabbitMQ:dead-lettered になったメッセージは、条件により exchange に再発行される(DLX)📮➡️📬 (rabbitmq.com)
-
Kafka Connect:コネクタ設定でDLQ用トピック名を指定できる(
errors.deadletterqueue.topic.name)🧾 (kafka.apache.org)
この教材では、**Outboxパターンに合わせて「DBのDead Letterテーブル」**として作るよ📦🗃️ (後でSQS/Kafka等に移植しても考え方は同じ!)
19.5 OutboxでDead Letterをどう設計する?(2つの代表案)🧩📦
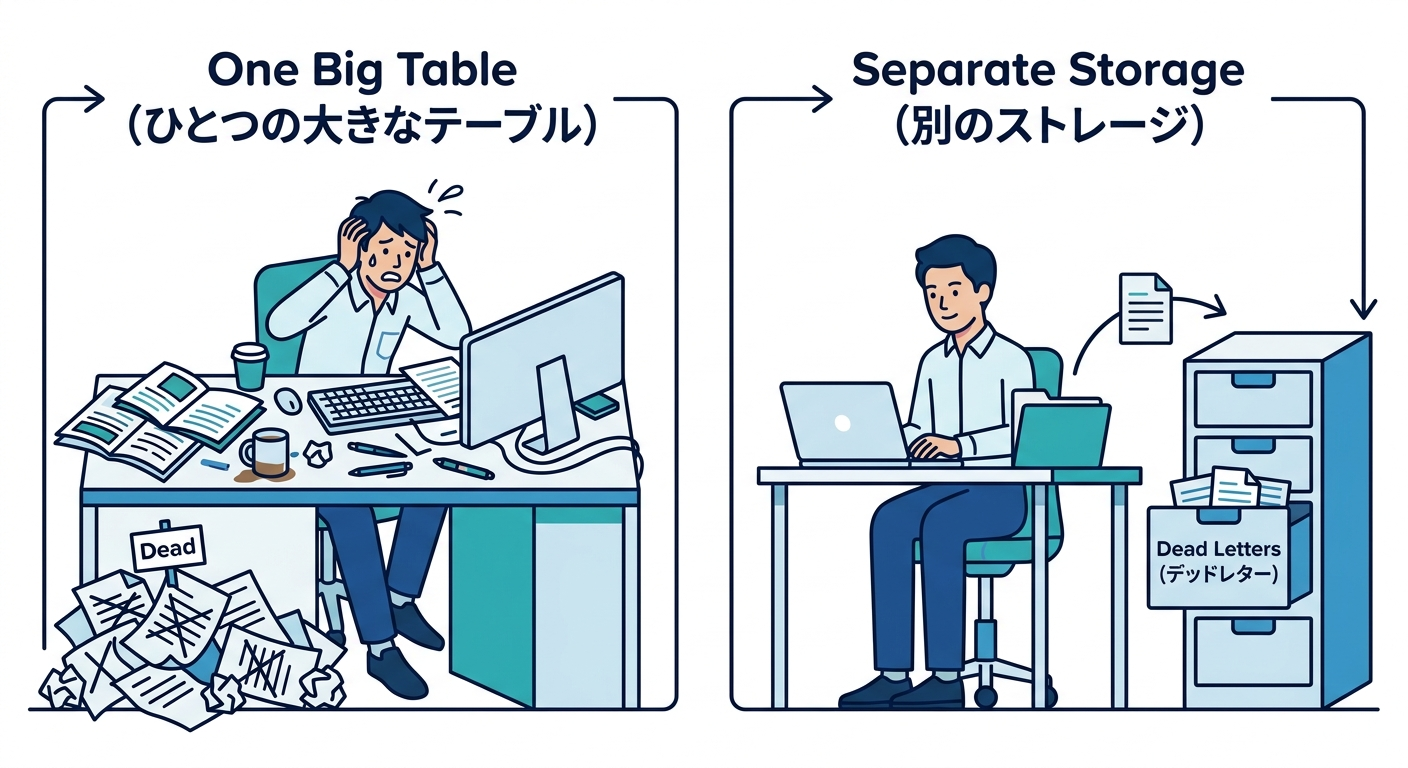
案1:Outboxに status = dead を持たせる(簡単)✅🙂
- Outboxテーブルのステータスを
pending / processing / retrying / sent / deadみたいに増やす deadになった行は通常処理から除外
👍 シンプル 👀 でも「死んだ理由」や「最後の例外」などをしっかり残すなら、列が増えがち
案2:Dead Letter専用テーブルへ“お引っ越し”(おすすめ)🌟📮➡️🗃️
- Outboxは「送るための箱」📦
- Dead Letterは「隔離保管庫」🗃️
- 失敗確定したら、Dead Letterテーブルへコピーして、Outbox側は
deadにするか削除
👍 運用がやりやすい(検索しやすい・復旧もしやすい) 👍 “直せる情報”をたっぷり入れられる🧾✨
この章では 案2で進めるよ😊
19.6 Dead Letterに“絶対残すべき情報”チェックリスト✅🧾
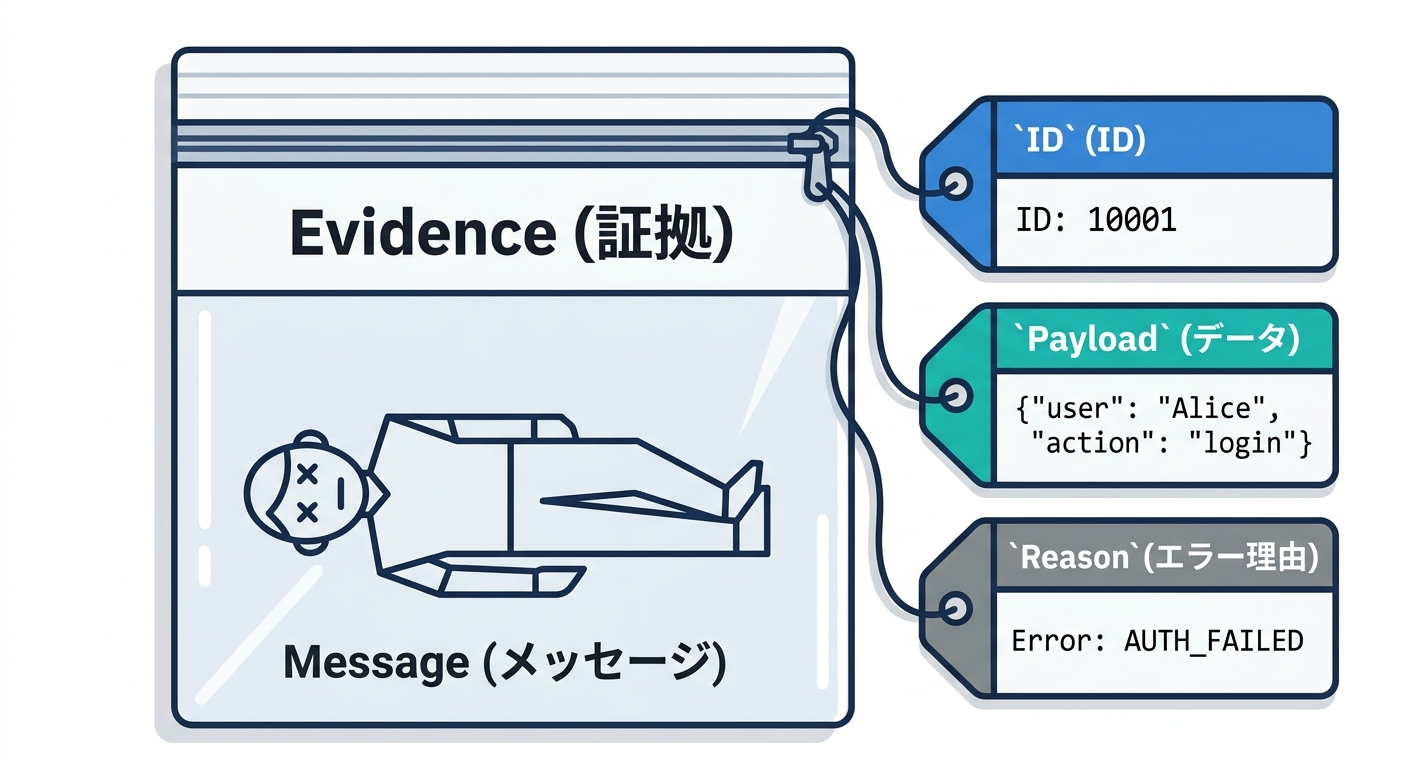
「人が直せる」ために、最低これが欲しい👇
-
元のイベントID(OutboxのID)🆔
-
eventType(何のイベント?)🏷️
-
payload(中身)📄
-
失敗理由コード(分類)📛
- 例:
VALIDATION_ERROR,HTTP_400,SCHEMA_MISMATCH,UNKNOWN
- 例:
-
例外メッセージ/スタックトレース(追跡)🪵
-
**attempts(試行回数)**🔁
-
firstFailedAt / lastFailedAt(いつから苦しんでる?)🕒
-
最後に呼んだ送信先(どこで失敗?)🎯
-
correlationId / traceId(ログ横断)🧵
💡注意:payloadに個人情報が入る可能性があるなら、マスクや暗号化も検討しよう🔐🙂(第21章の観測・運用にも関係してくるよ)
19.7 DBスキーマ例(学習用の最小+ちょい実戦)🧱🗃️
Outbox(例)
-- outbox(送るための箱)
create table outbox (
  id           text primary key,
  event_type   text not null,
  payload_json text not null,

  status       text not null,         -- pending / processing / retrying / sent / dead
  attempts     integer not null default 0,
  next_retry_at text null,            -- ISO文字列でOK(学習用)
  last_error   text null,

  created_at   text not null,
  updated_at   text not null
);
Dead Letter(例)
-- dead_letters(隔離保管庫)
create table dead_letters (
  id               text primary key,     -- dead letter側のID(別でもOK)
  original_outbox_id text not null,

  event_type       text not null,
  payload_json     text not null,

  reason_code      text not null,         -- VALIDATION_ERROR など
  error_message    text not null,
  error_stack      text null,

  attempts         integer not null,
  first_failed_at  text not null,
  last_failed_at   text not null,

  destination      text null,             -- 例: "webhook:billing"
  created_at       text not null
);

create index idx_dead_letters_original on dead_letters(original_outbox_id);
create index idx_dead_letters_event_type on dead_letters(event_type);
create index idx_dead_letters_created_at on dead_letters(created_at);
19.8 実装:失敗を“Dead Letterへ送る”処理フロー📤💥➡️📮
ここがこの章のメインだよ✨ Publisher(送信係)が1件処理するときの流れ👇
- Outboxを1件拾う(ロックは第14章のやり方)🔒
- 送信する📤
- 失敗したら、エラーを分類する🧠
- リトライ対象なら
attempts++とnextRetryAtを更新して戻す🔁 - 恒久エラー or 見切り回数超えなら、Dead Letterへ隔離📮🗃️
19.9 TypeScript実装例(重要部分だけギュッ)🛠️✨
19.9.1 型(Outbox / DeadLetter)
type OutboxStatus = "pending" | "processing" | "retrying" | "sent" | "dead";

type OutboxRecord = {
  id: string;
  eventType: string;
  payloadJson: string;

  status: OutboxStatus;
  attempts: number;
  nextRetryAt: string | null;
  lastError: string | null;

  createdAt: string;
  updatedAt: string;
};

type DeadLetterRecord = {
  id: string;
  originalOutboxId: string;

  eventType: string;
  payloadJson: string;

  reasonCode: string;
  errorMessage: string;
  errorStack: string | null;

  attempts: number;
  firstFailedAt: string;
  lastFailedAt: string;

  destination: string | null;
  createdAt: string;
};
19.9.2 エラー分類(超シンプル版)📛🧠
type ErrorClass = {
  isRetryable: boolean;
  reasonCode: string;
};

function classifyError(e: unknown): ErrorClass {
  // 学習用にシンプル!必要なら増やしてOK🙂
  if (e instanceof Error) {
    const msg = e.message.toLowerCase();

    // 例: バリデーション系は恒久エラー寄り
    if (msg.includes("validation") || msg.includes("invalid payload")) {
      return { isRetryable: false, reasonCode: "VALIDATION_ERROR" };
    }

    // 例: タイムアウトやネットワークはリトライ寄り
    if (msg.includes("timeout") || msg.includes("econnreset") || msg.includes("network")) {
      return { isRetryable: true, reasonCode: "TRANSIENT_NETWORK" };
    }

    // よく分からないのは最初リトライ、回数で見切る作戦
    return { isRetryable: true, reasonCode: "UNKNOWN" };
  }

  return { isRetryable: true, reasonCode: "UNKNOWN_NON_ERROR_THROWN" };
}
19.9.3 Dead Letterへ隔離(トランザクションで安全に)🔐📮
「Outboxをdeadにする」と「DeadLetterに保存する」を同時に成功させたいよね🙂 だから DBトランザクションでまとめる✨(第11章の復習!)
type DbTx = {
  outbox: {
    markDead: (id: string, lastError: string) => Promise<void>;
    markRetrying: (id: string, attempts: number, nextRetryAt: string, lastError: string) => Promise<void>;
    markSent: (id: string) => Promise<void>;
  };
  deadLetters: {
    insert: (r: DeadLetterRecord) => Promise<void>;
  };
};

type Db = {
  transaction: <T>(fn: (tx: DbTx) => Promise<T>) => Promise<T>;
};

function nowIso(): string {
  return new Date().toISOString();
}

function addSeconds(iso: string, sec: number): string {
  return new Date(new Date(iso).getTime() + sec * 1000).toISOString();
}

function newId(): string {
  return crypto.randomUUID();
}

async function moveToDeadLetter(db: Db, o: OutboxRecord, e: Error, reasonCode: string, destination: string | null) {
  const ts = nowIso();

  const dead: DeadLetterRecord = {
    id: newId(),
    originalOutboxId: o.id,
    eventType: o.eventType,
    payloadJson: o.payloadJson,

    reasonCode,
    errorMessage: e.message,
    errorStack: e.stack ?? null,

    attempts: o.attempts,
    firstFailedAt: o.createdAt,     // 学習用:初回失敗時刻を別管理してもOK
    lastFailedAt: ts,

    destination,
    createdAt: ts,
  };

  await db.transaction(async (tx) => {
    await tx.deadLetters.insert(dead);
    await tx.outbox.markDead(o.id, `${reasonCode}: ${e.message}`);
  });
}
19.9.4 Publisherの処理(リトライ or Dead Letter)📤🔁📮
const MAX_ATTEMPTS = 8;

async function handleOutboxOne(db: Db, o: OutboxRecord, destination: string | null) {
  try {
    // 送信(ここは第13章の“疑似送信”でもOK🙂)
    await sendIntegrationEvent(o.eventType, o.payloadJson);

    await db.transaction(async (tx) => {
      await tx.outbox.markSent(o.id);
    });

  } catch (err) {
    const e = err instanceof Error ? err : new Error("Unknown error");
    const cls = classifyError(e);
    const ts = nowIso();

    const nextAttempts = o.attempts + 1;
    const lastError = `${cls.reasonCode}: ${e.message}`;

    // 恒久エラー → 即Dead Letter
    if (!cls.isRetryable) {
      await moveToDeadLetter(db, { ...o, attempts: nextAttempts }, e, cls.reasonCode, destination);
      return;
    }

    // リトライ回数超え → Dead Letter
    if (nextAttempts >= MAX_ATTEMPTS) {
      await moveToDeadLetter(db, { ...o, attempts: nextAttempts }, e, "RETRY_EXHAUSTED", destination);
      return;
    }

    // リトライへ(バックオフは第16章で強化!)
    const nextRetryAt = addSeconds(ts, 30 * nextAttempts);

    await db.transaction(async (tx) => {
      await tx.outbox.markRetrying(o.id, nextAttempts, nextRetryAt, lastError);
    });
  }
}

async function sendIntegrationEvent(eventType: string, payloadJson: string): Promise<void> {
  // 学習用:まずは疑似送信でOK!
  // 本番はHTTPやメッセージブローカーへ
  if (eventType === "OrderCreated" && payloadJson.length < 10) {
    throw new Error("validation: invalid payload");
  }
}
19.10 “隔離した後”が本番(復旧フロー設計)🧰🙂
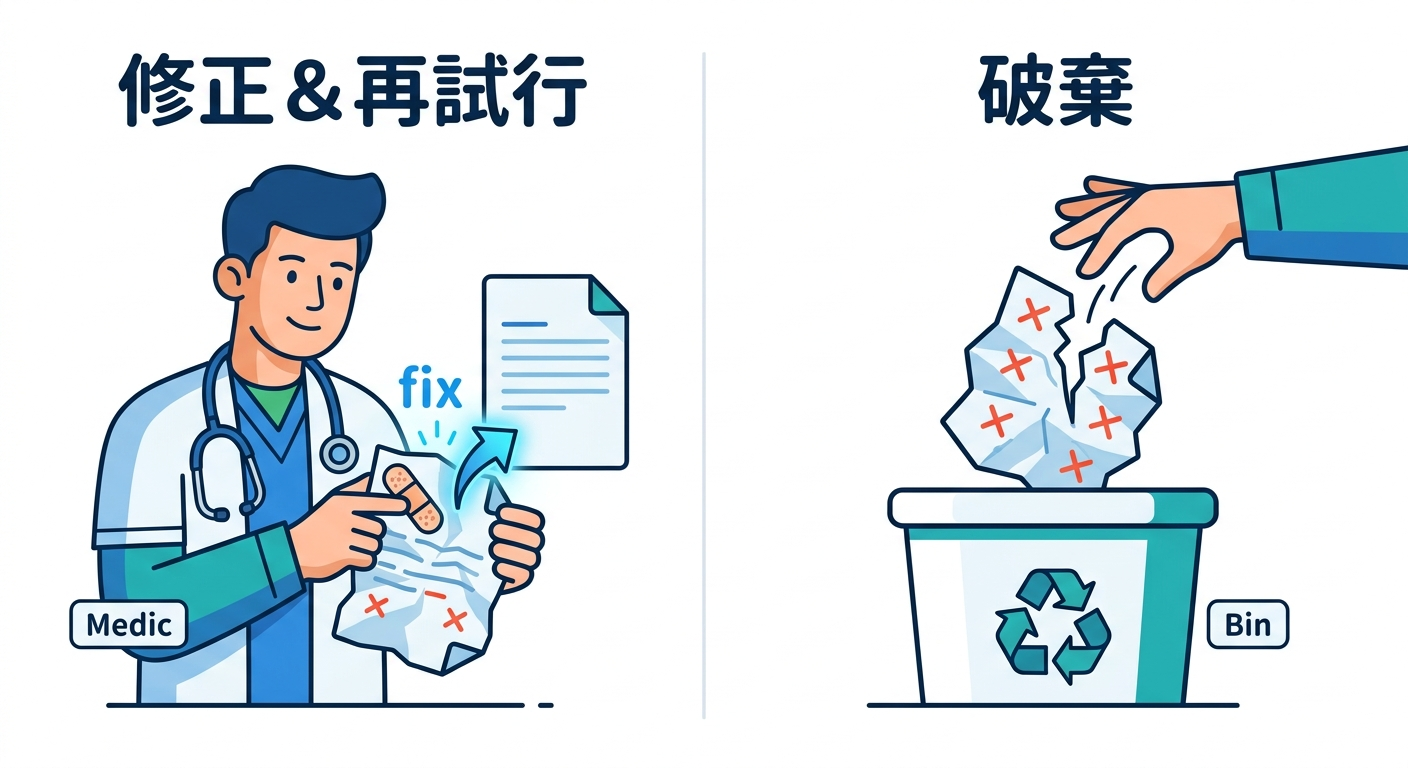
Dead Letterは「入れたら終わり」じゃないよ📮➡️🛠️ 救出の道を作って初めて完成✨
よくある救出フロー3パターン
- **原因修正 → 再投入(requeue)**🔁
- payloadを直す(不足項目を補う等)
- Outboxへ戻す(新IDでも同IDでも方針次第)
- 原因修正 → 手動で1回だけ送る📤
- その場で送って、DeadLetterに「対応済み」メモを残す
- 破棄(ただし証跡は残す)🗑️🧾
- 明らかに不要なデータ(テストゴミ等)
“再投入”するときの注意(冪等性とセット!)🛡️🔑
-
同じイベントをもう一回送ることになるかも
-
だから第17章の冪等性(idempotency key)が効いてくる💪🙂
-
Dead Letterから戻すときは、
- 「同じ
eventIdで送る」か - 「新しい
eventIdで送る」か を決めておこう(設計判断ポイント)🧠
- 「同じ
19.11 運用で泣かないための“見える化”ミニ設計👀📊
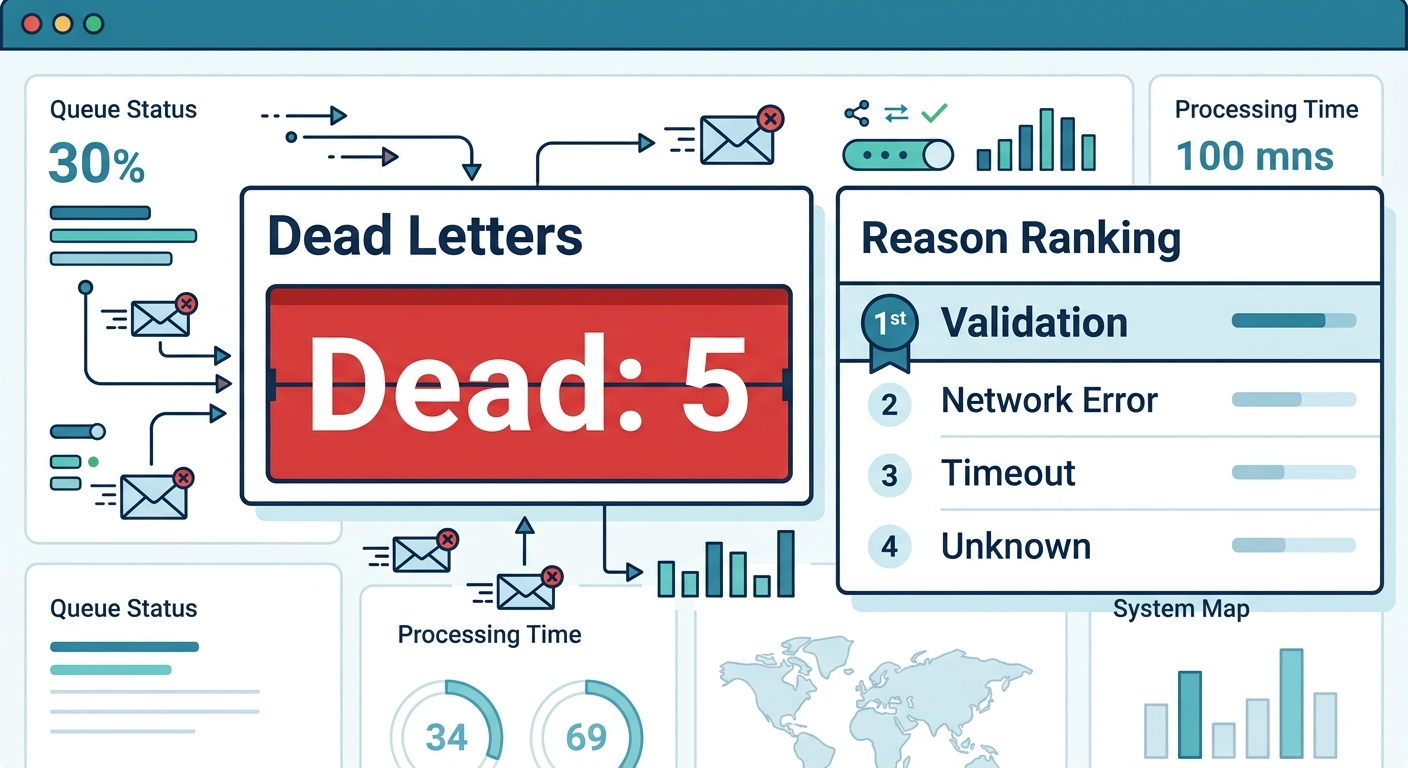
最低限これを出すと、運用が一気に楽になるよ🙂🫶
- Dead Letter件数(総数・日次)📈
- reasonCode別ランキング(何が多い?)🏷️
- eventType別ランキング(どのイベントが弱い?)📦
- 「初回失敗から何日放置?」(古い順)🕰️
- 「再投入して成功した率」🔁✅
第21章の観測(ログ・メトリクス)で、ここをちゃんと形にするよ🔍✨
19.12 演習(手を動かすパート)🎓🧪
演習1:毒入りpayloadを作ってDead Letterへ送ろう🧪📮
payloadJson.length < 10でバリデーションエラーになるようにしたよね🙂- その条件でOutboxを作って、Publisherを回してみよう
dead_lettersにレコードが入るのを確認✅
演習2:reasonCodeを3種類に増やそう🏷️✨
VALIDATION_ERRORTRANSIENT_NETWORKRETRY_EXHAUSTED
“分類できる”だけで運用が超ラクになるよ🙂👍
演習3:再投入(requeue)用の関数を作ろう🔁🛠️
- DeadLetterのレコードを選ぶ
- payloadを直した体で(手動で文字列を差し替え)
- Outboxに戻す(insert)
- DeadLetter側に「requeuedAt」を残す(列追加でもOK)
19.13 AI活用ミニ型(この章向け)🤖✨
そのままコピペで使えるやつ👇
- エラー分類相談📛 「Outbox Publisherで起きるエラーを“リトライ可/不可”に分類して、reasonCode案を10個出して。各reasonCodeの判断基準も添えて」
- DeadLetterテーブル設計レビュー🧾 「このdead_lettersテーブルに不足してる“直せる情報”を指摘して。個人情報が混ざる場合の対策も提案して」
- 復旧手順(Runbook)作成🛠️ 「Dead Letterが増えた時の運用手順を、一次対応→原因調査→修正→再投入→再発防止の流れで箇条書きにして」
19.14 まとめ(この章で身につくこと)🎁✨
- “何回やっても無理”を隔離する判断ができる🙂📮
- Dead Letterに 直せる情報を残す設計ができる🧾✅
- Outbox Publisherで リトライとDead Letterを分岐できる🔁➡️📮
- 冪等性・観測とつながる“実運用の入口”に立てる🛡️🔍